Please also refer to our USER GUIDE for Downloadable links for MAC, under our FAQ category for Tutorials & Videos.
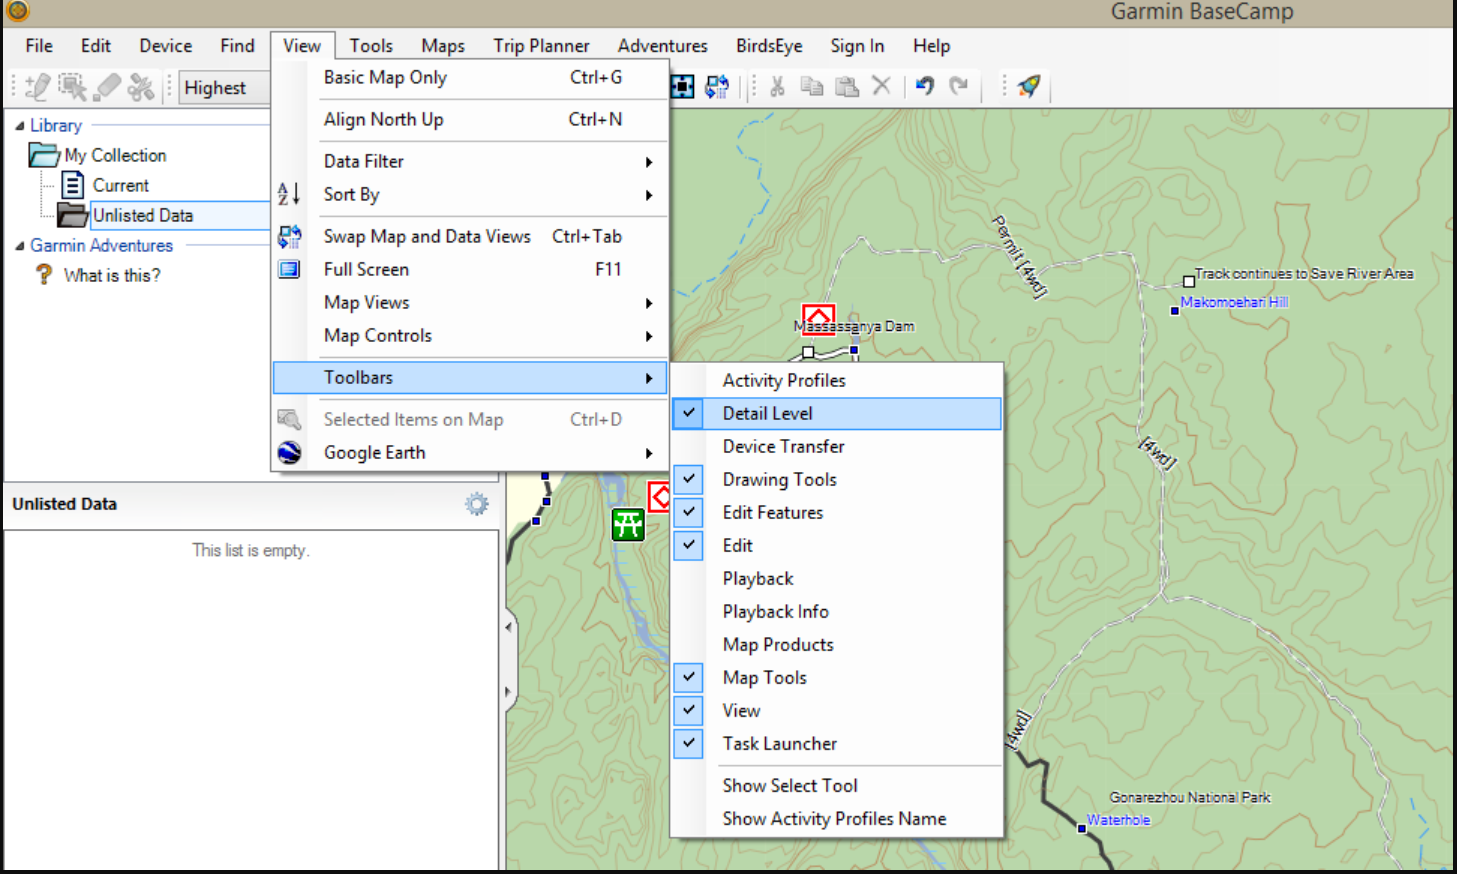
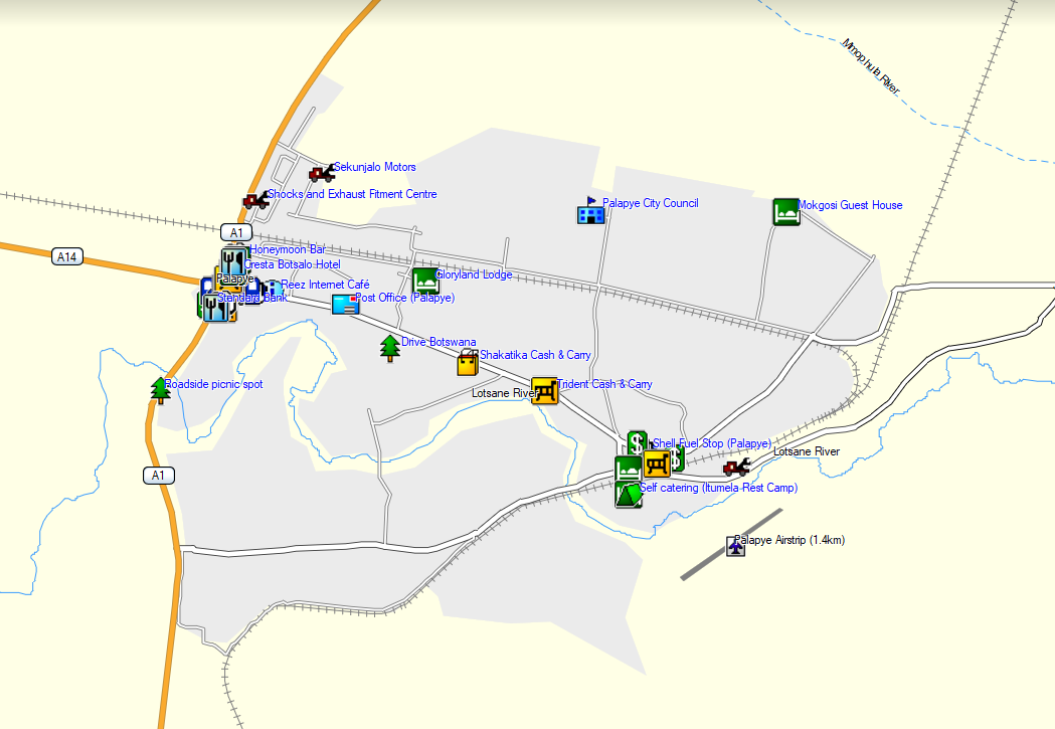
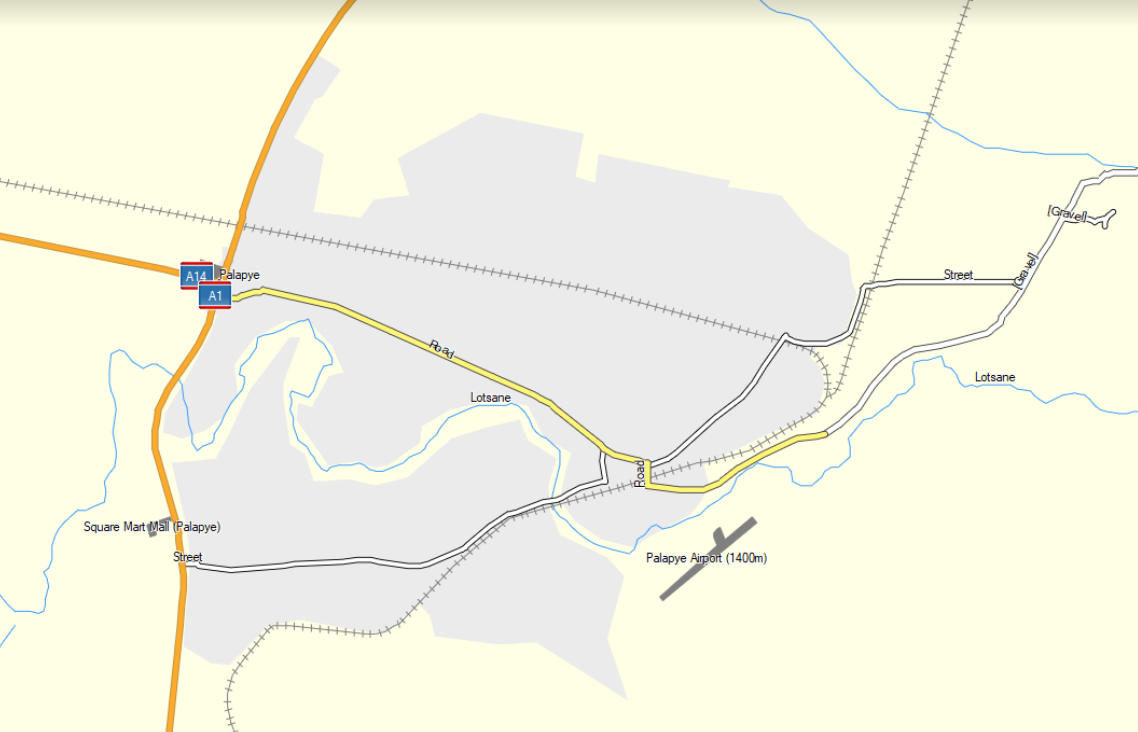
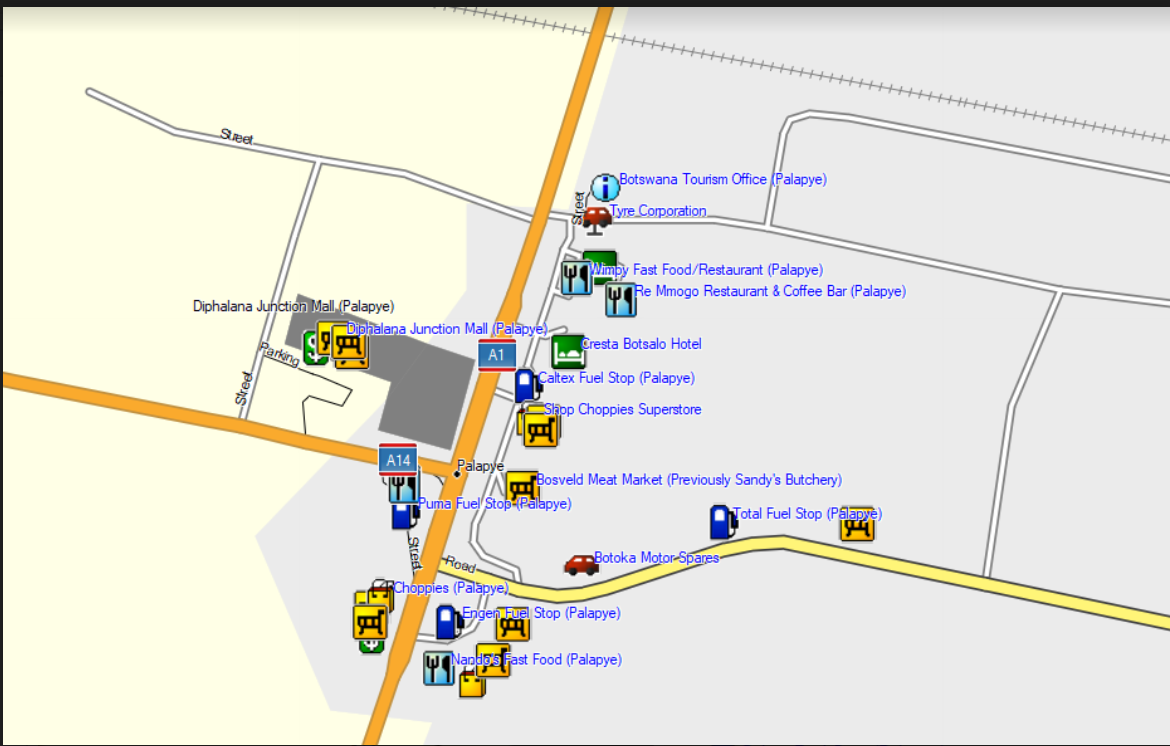
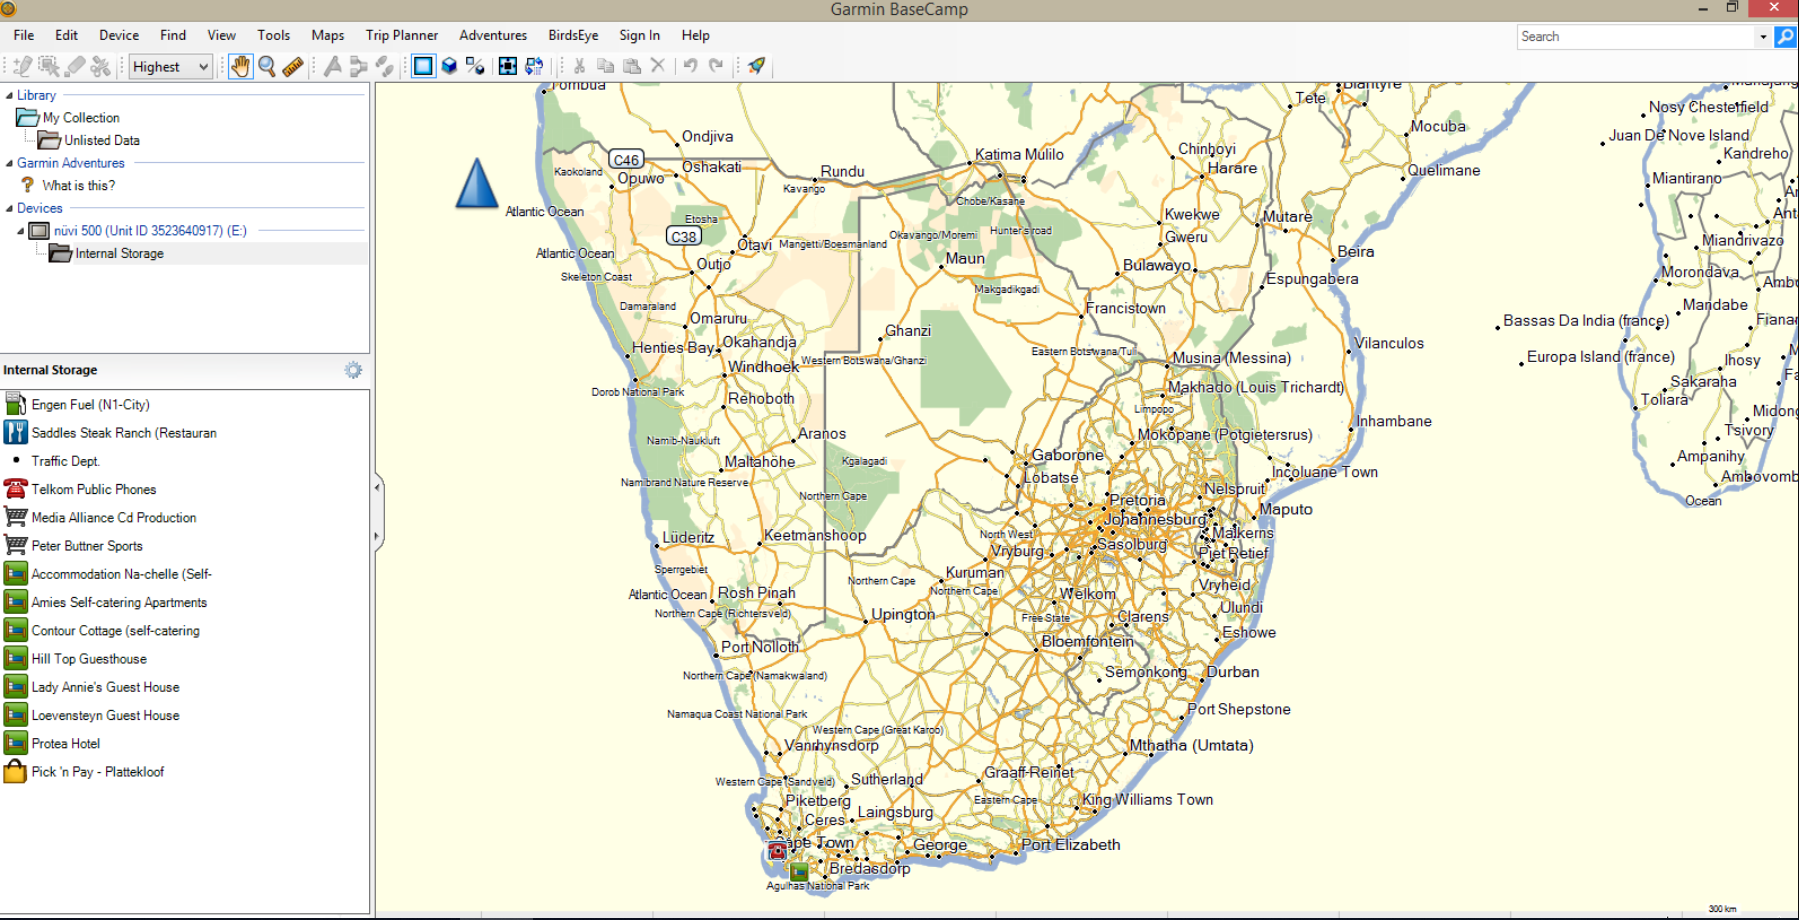
If you are using a Macbook you’ll need Garmin BaseCamp to view the map(s) and to do route planning on your T4A GPS Maps and Garmin MapInstall to send the map(s) from your Macbook to your GPS device.
Garmin BaseCamp for Mac: to do route planning and view the GPS Map.
Garmin MapInstall : to transfer the GPS Map to your GPS unit.
Garmin MapManager: this is where your installed GPS Maps will be listed and where you will uninstall your GPS Maps.
Install these applications from Garmin’s website before continuing the steps below.
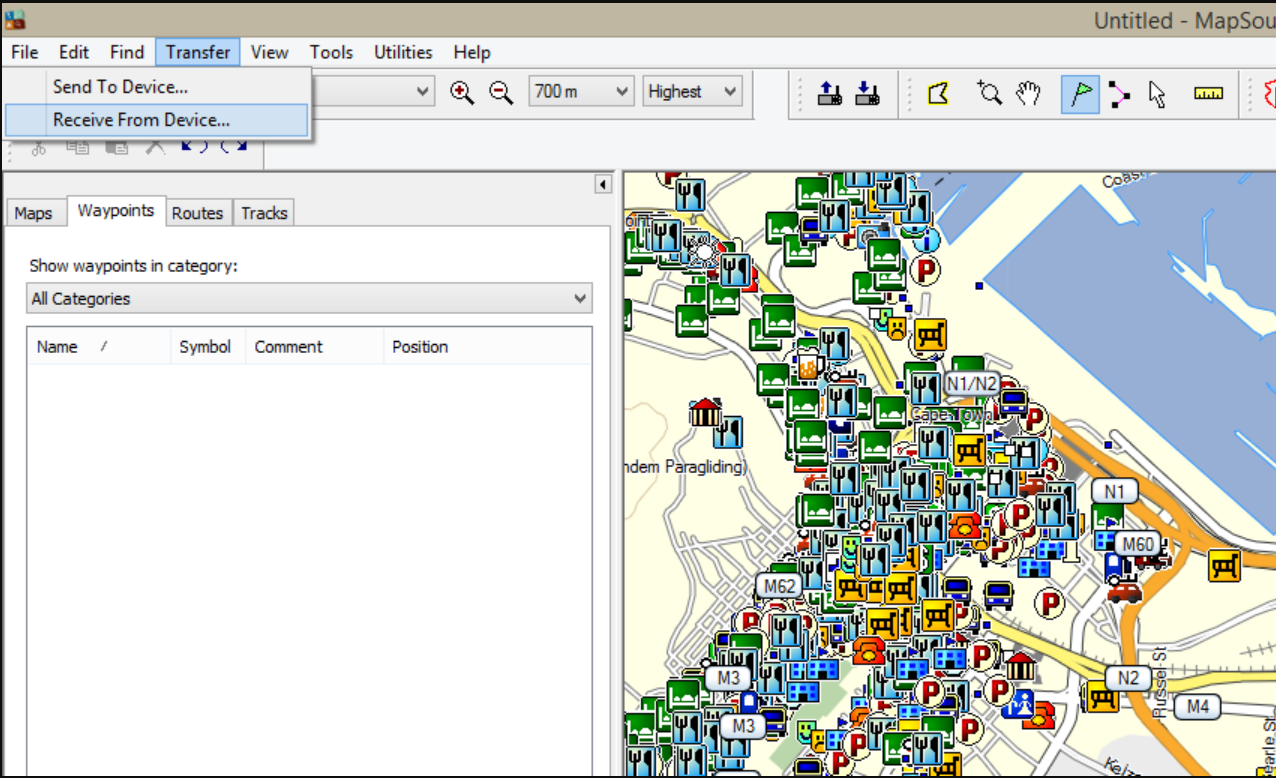
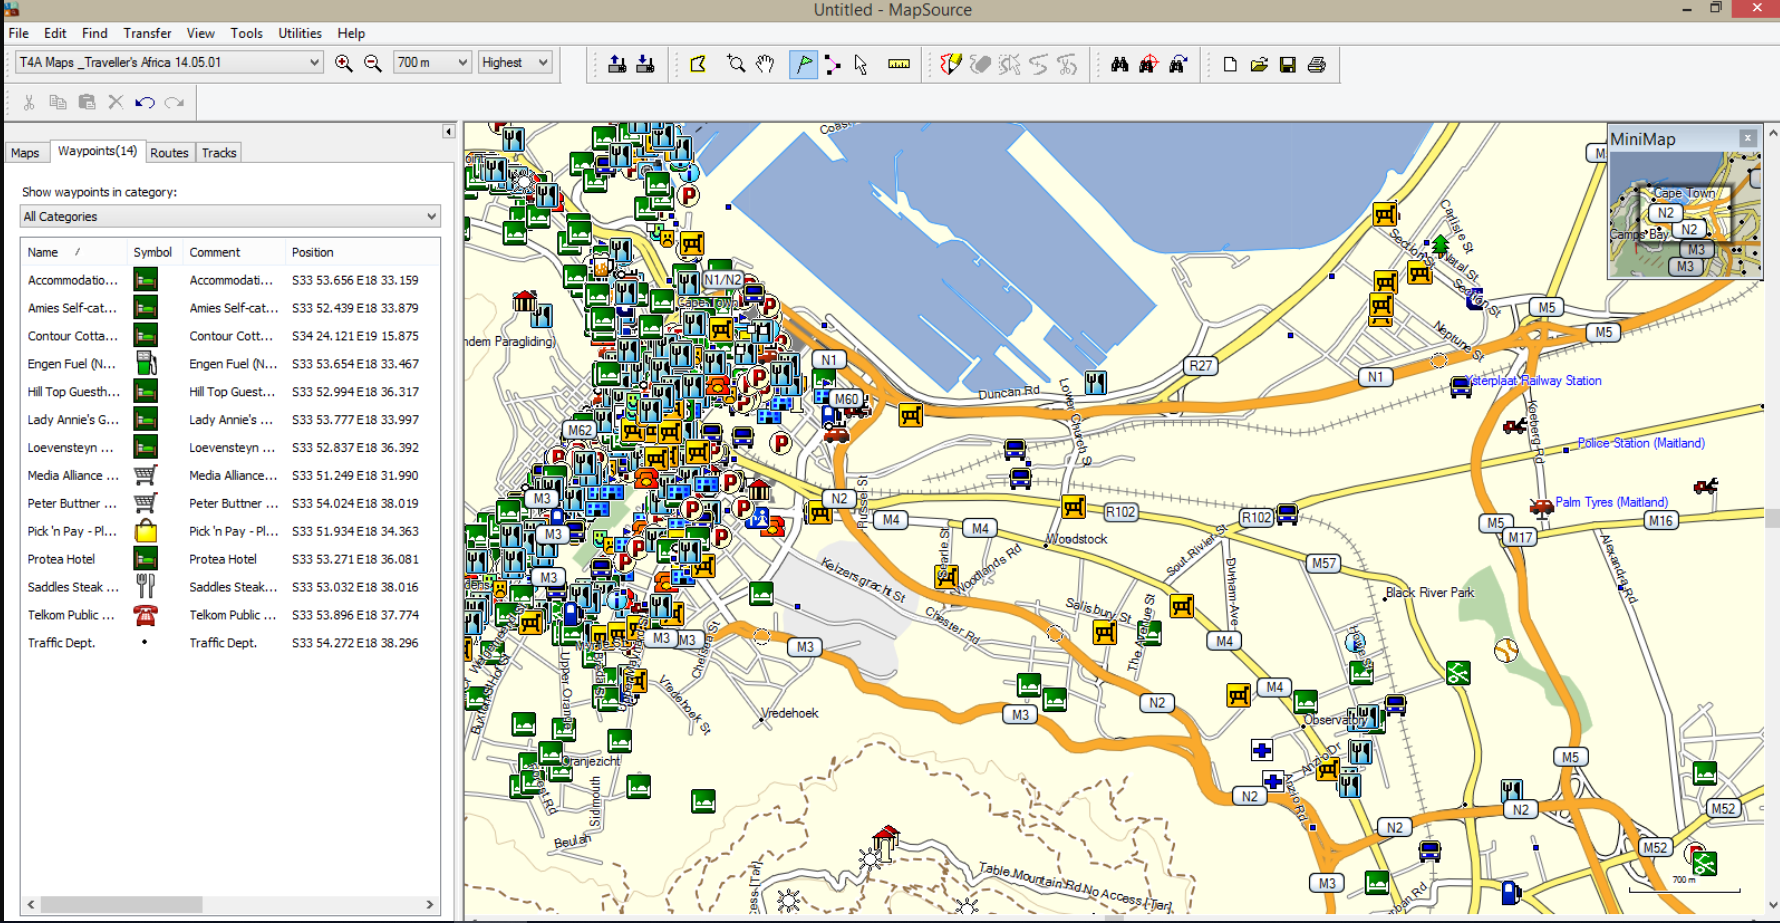
Follow these steps to transfer waypoints, routes and tracks to your GPS unit using Garmin BaseCamp for Mac:
NB! If you have a older version on your internal memory of the GPS or an SD Card then, you must remove it before transferring the new maps to your GPS unit. Explore the internal memory / SD Card and look either under the Garmin folder or map folder for the file ending with img. Cut this file and place it on your desktop for safety. After following the steps below, where the new maps are place successfully on your GPS. You may remove the img file form your desktop.
- Open BaseCamp.
- Go to TRANSFER > SEND “My Collection”. The window below will open on your screen.
- Select your GPS or No Name from the dropdown menu. If you select your GPS the data will be transferred to the internal memory of the GPS. If you select the No Name device then the data will be transferred to the SD card in your GPS.
- Ensure that ROUTES, TRACKS, WAYPOINTS AND GEOTAGGED PHOTOS are ticked. Then click Send.

Close after the transfer has been completed. All your waypoints will be listed on your GPS under Favourites. If your GPS can receive routes the routes you have created will be listed under your Trip planner (depending on your GPS model).

To transfer the map(s) to your Garmin GPS using Garmin MapInstall:
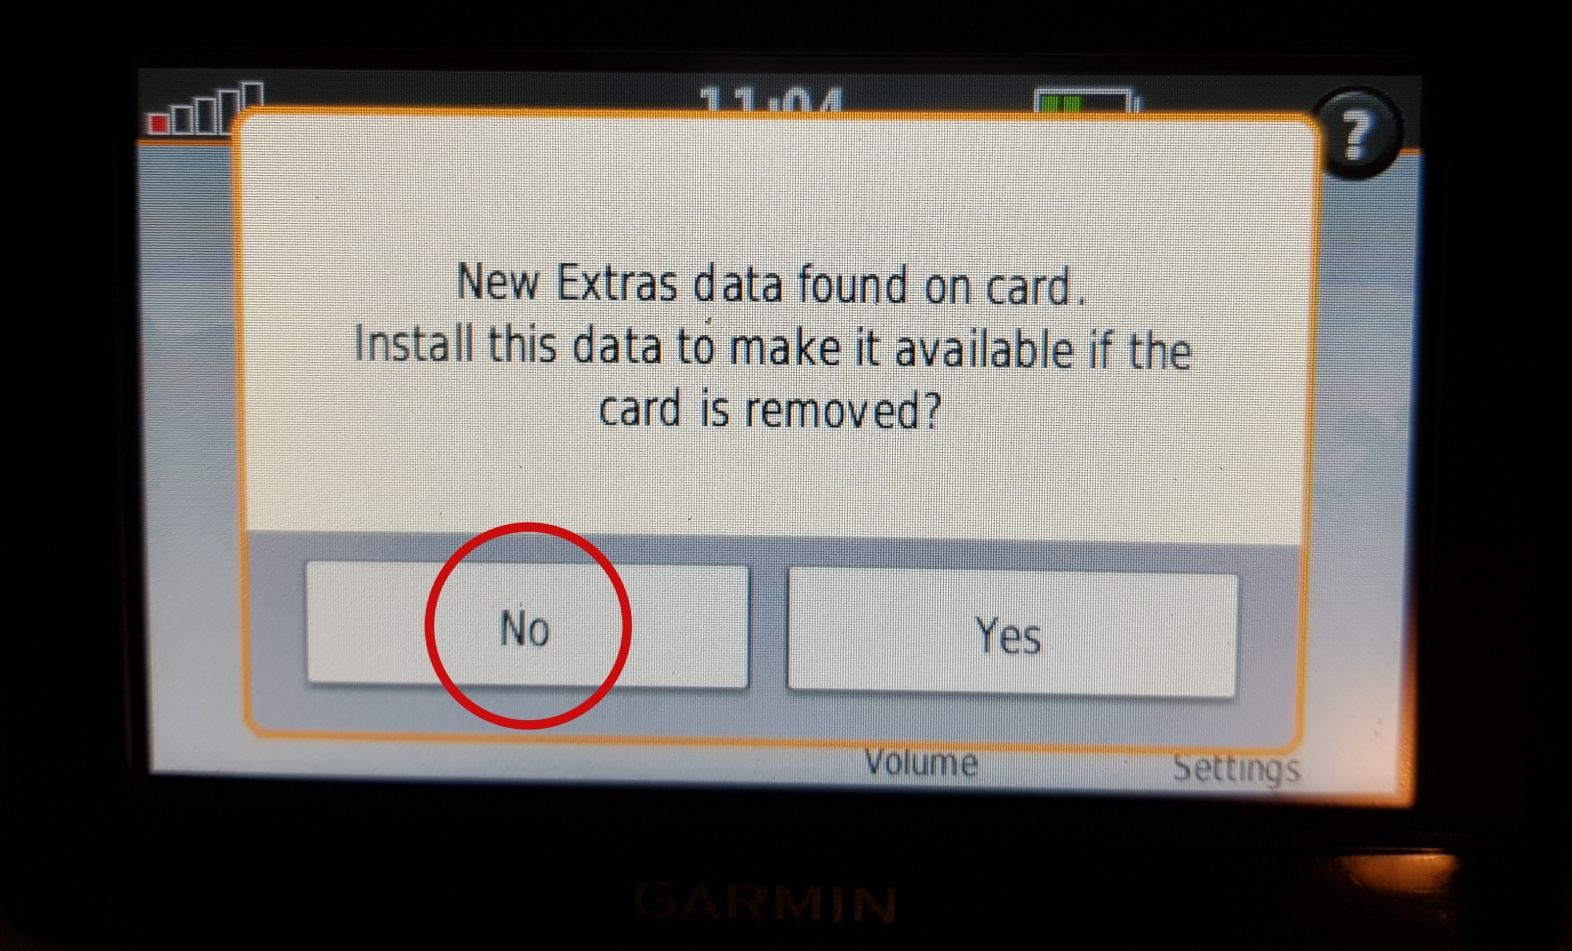
Each time a map set is sent to a Garmin GPS the previously loaded maps are erased from the GPS. If your Garmap maps are loaded on your SD card, send T4A maps to the internal memory of your device and vice versa. Please note that the SD card has to be inserted in the GPS device if you want to transfer maps to the SD card. Remove the SD card from the GPS device if you wish to have the GPS Maps sent to the internal memory of the GPS.
NB! If you have a older version on your internal memory of the GPS or an SD Card then, you must remove it before transferring the new maps to your GPS unit. Explore the internal memory / SD Card and look either under the Garmin folder or map folder for the file ending with img. Cut this file and place it on your desktop for safety. After following the steps below, where the new maps are place successfully on your GPS. You may remove the img file form your desktop.
Connect your GPS device to your Macbook in order to transfer the GPS maps.
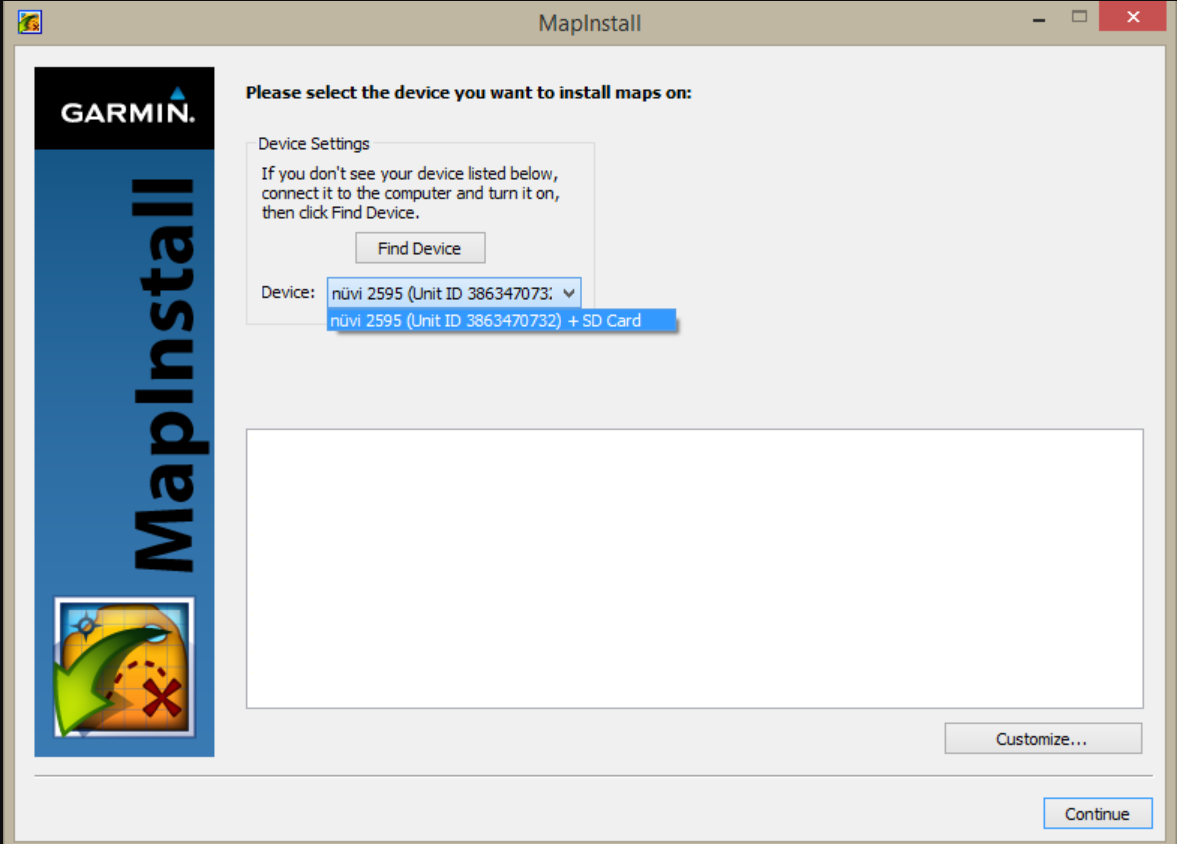
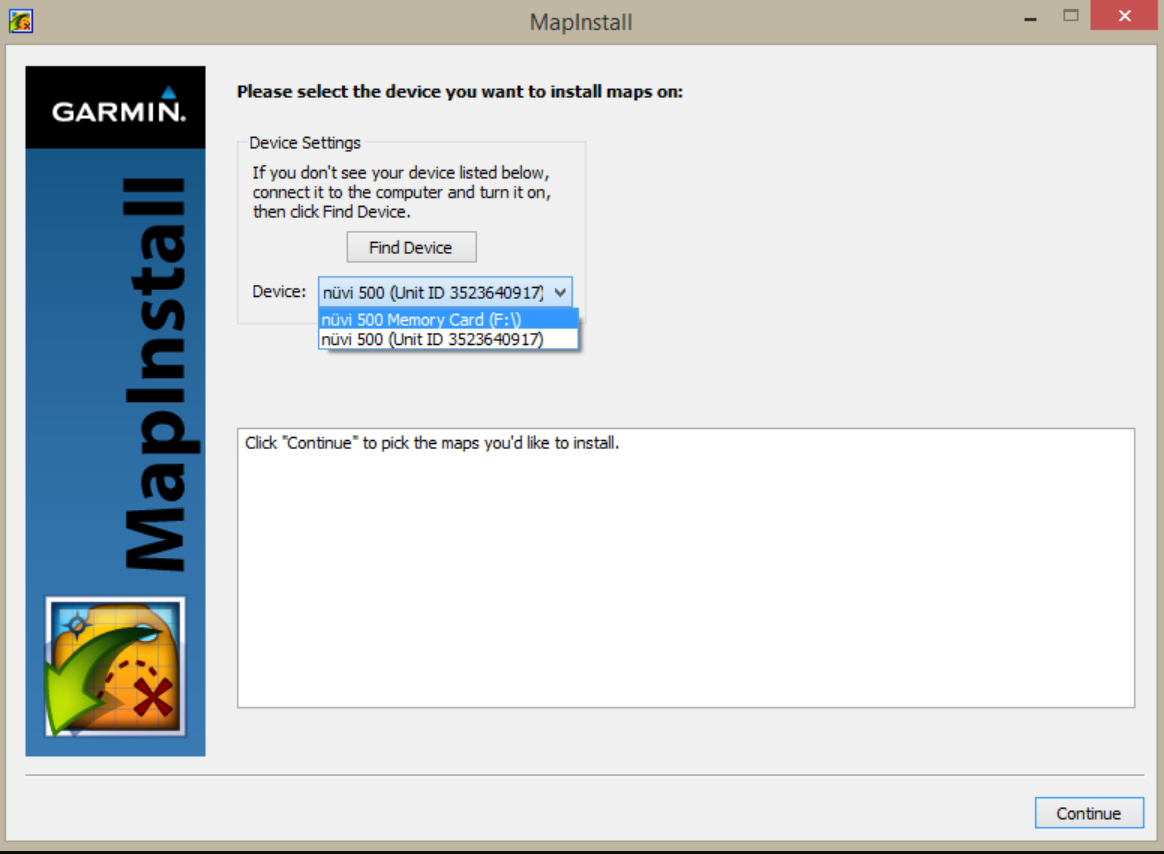
Step 1: Open MapInstall b> Go > Applications> Garmin MapInstall.
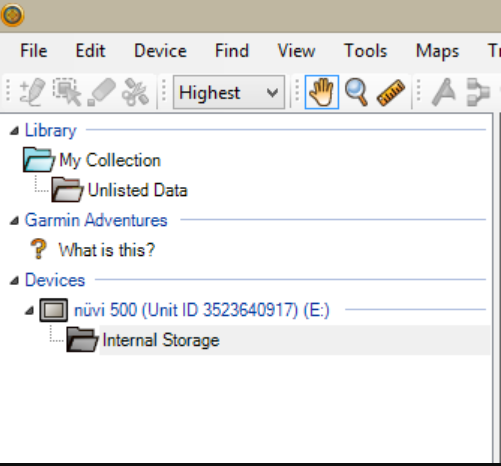
To transfer maps to your device’s internal memory, remove the SD card from your GPS and connect to’ GPS unit into your Macbook. The GPS will be listed Nuvi 3790 (unit ID 3820880631)

If you want to transfer maps to the SD card in your device, then insert the SD card in your GPS and plug it into your Macbook. The GPS will be listed Nuvi 3790 (unit ID 3820880631)+ SD Card.

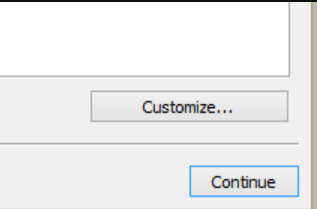
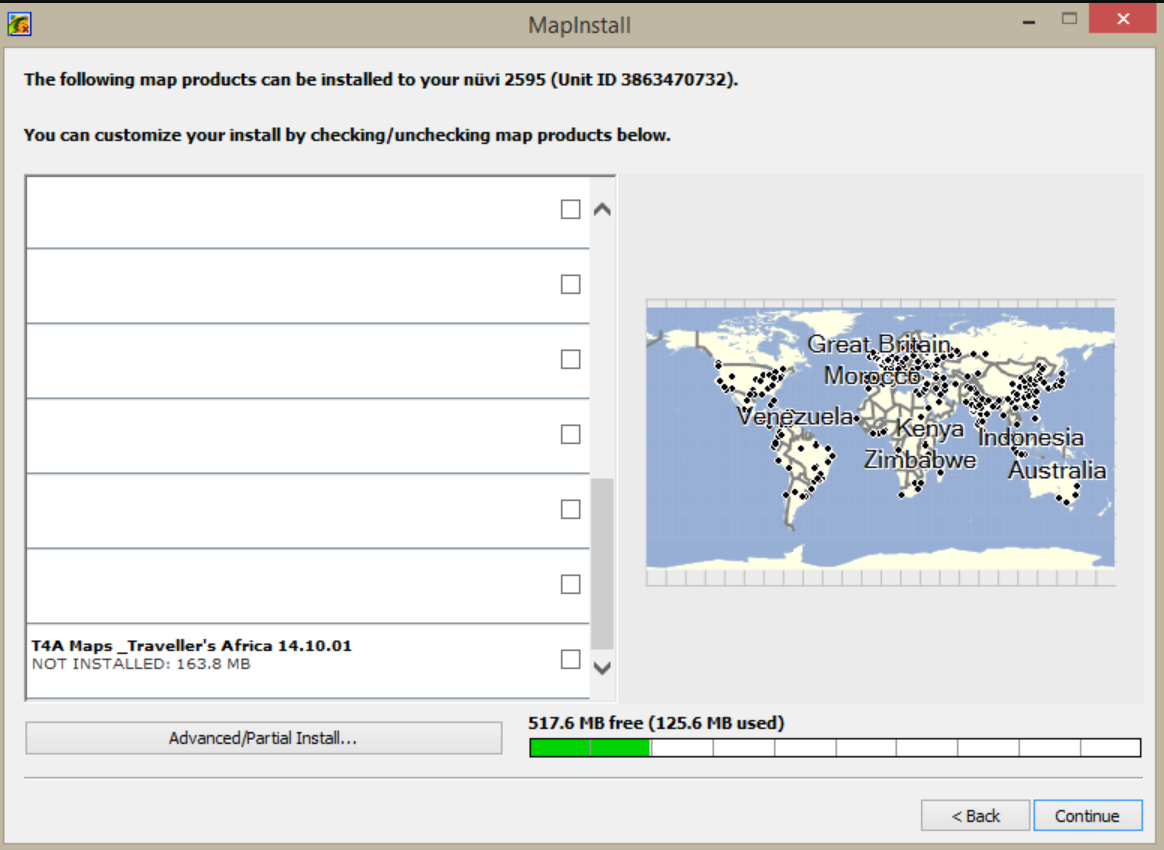
Step 2: Click on CUSTOMIZE to select the map(s) you want to send to your device.

Step 3: Click on the map name that you want to send to your GPS device. (Once the map is selected, it will be highlighted on the screen).

Step 4: Click on Send Maps on the bottom right hand corner of MapInstall to transfer the maps to your GPS device.

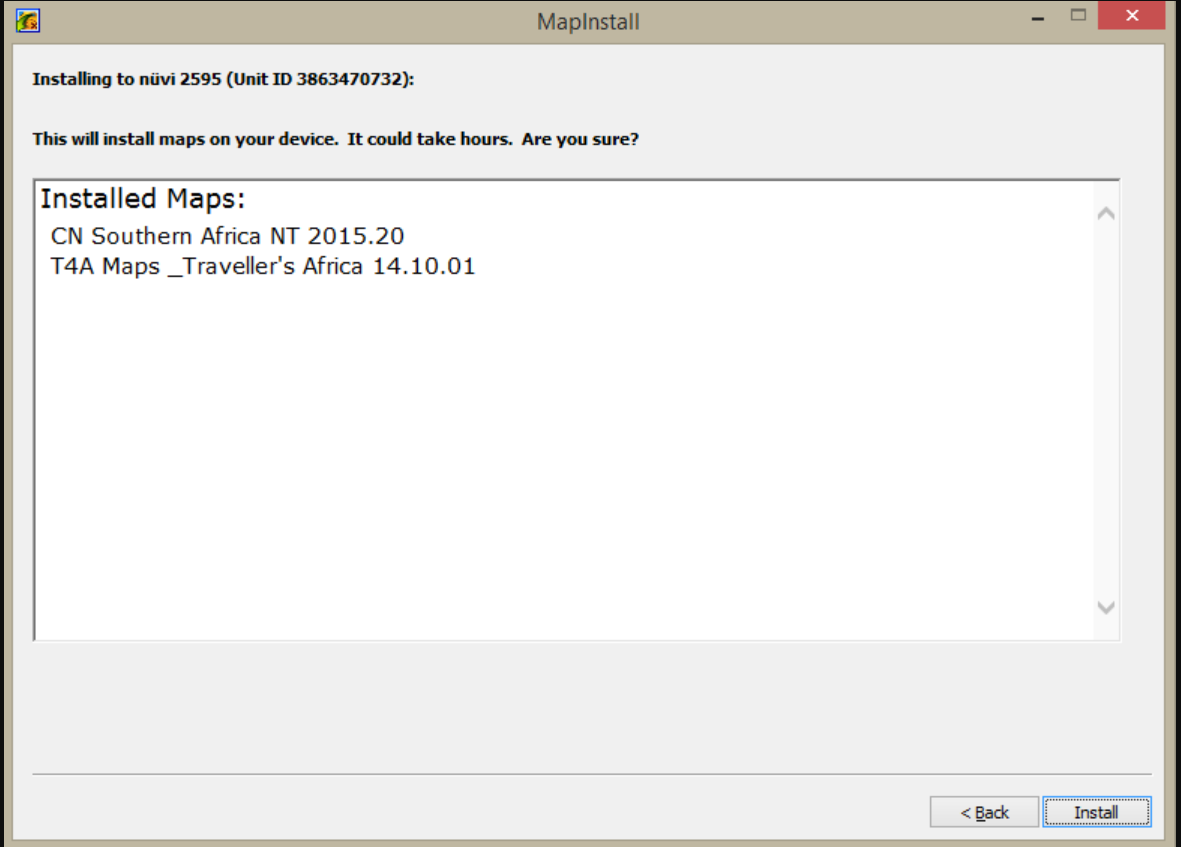
Step 5: The following screen will appear below.
Click on confirm.
Please note that the transfer should not take hours as indicated on the screen.

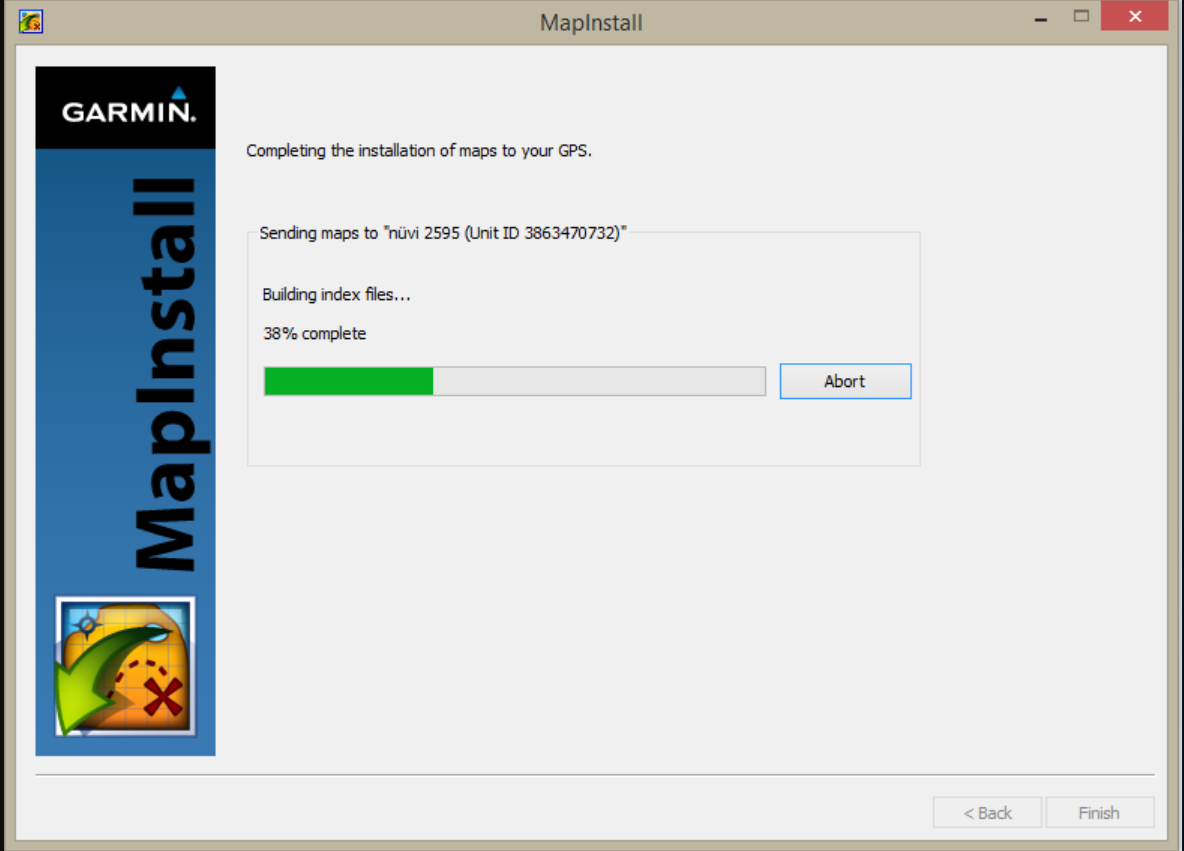
Step 6: Once the transfer is successfully done you’ll see the page below.
Click on Done once the installation is complete.

The maps will now be listed under your Map Information on the GPS. Select the maps by ticking the box next to the map name or by enabling it. (Please note that the Tracks4Africa GPS Maps may not be used in conjunction with any other GPS Maps).
















William Clarke (verified owner) –
I haven’t been able to use it yet but it looks really good. There seems to be more detailed information than on Google Earth and really useful where there is little or no signal. I wish I had downloaded it before going to Chizarira. However I am now well prepared for southern Gonarezhou.
Stuart Beverley (verified owner) –
Loving the new maps and the additional detail. It really helps having more descriptions in the POI’s when planning and visiting an area. Am already planning a new trip with Tracks4Africa.
António Fachada (verified owner) –
T4A maps have been reliably helping us on planning and guiding our self drives in Africa. This is an upgrade to the older version, and will certainly guide us accurately as the previous one. Just hope, that at the end of the trip, we can contribute a little to this marvelous T4A project.
Richard Hall (verified owner) –
We have used T4A maps for our self drive travels through Namibia, Botswana, Kenya, Tanzania, South Africa and Uganda over the last 10 years. I would not dream of going to a new country without a T4A map and I am confident that this one will do us well in Zambia in October.
Alexis MALLARD (verified owner) –
Very good map to prepare your itinerary. Not as complete and upgraded as the maps of Namibia and Botswana, but very helpful. I recommend it.